Installing Backsplash
 Installing Backsplash
Actions
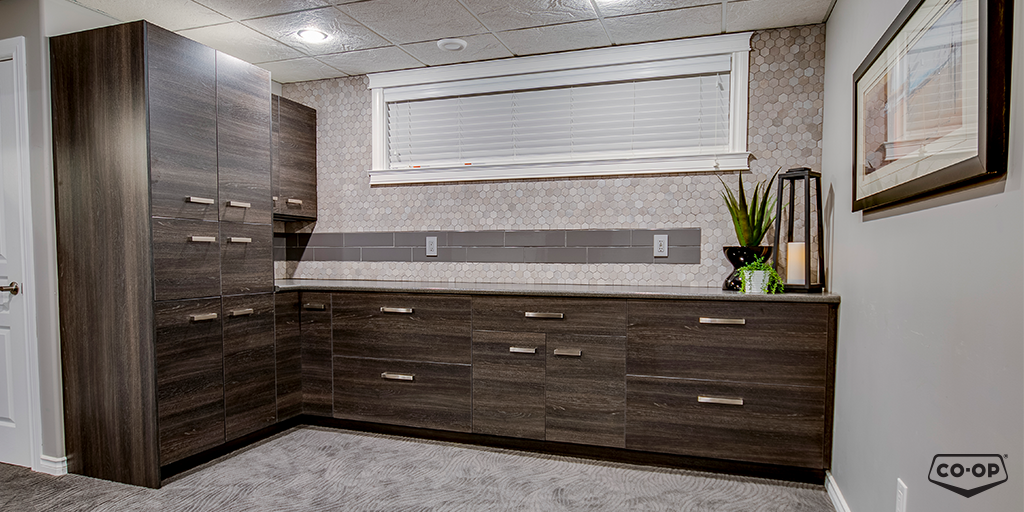
 Beyond its alluring textural qualities, wall tile is practical: it’s easy to clean and protects walls from potential water damage. There are many areas of the home where wall tile can be incorporated, including kitchen backsplashes, shower and tub walls, living room walls, fireplaces, basement bars and more.
Have no fear, installing wall tile can be done by just about anyone willing to get their hands dirty.
1. Select your wall and tile
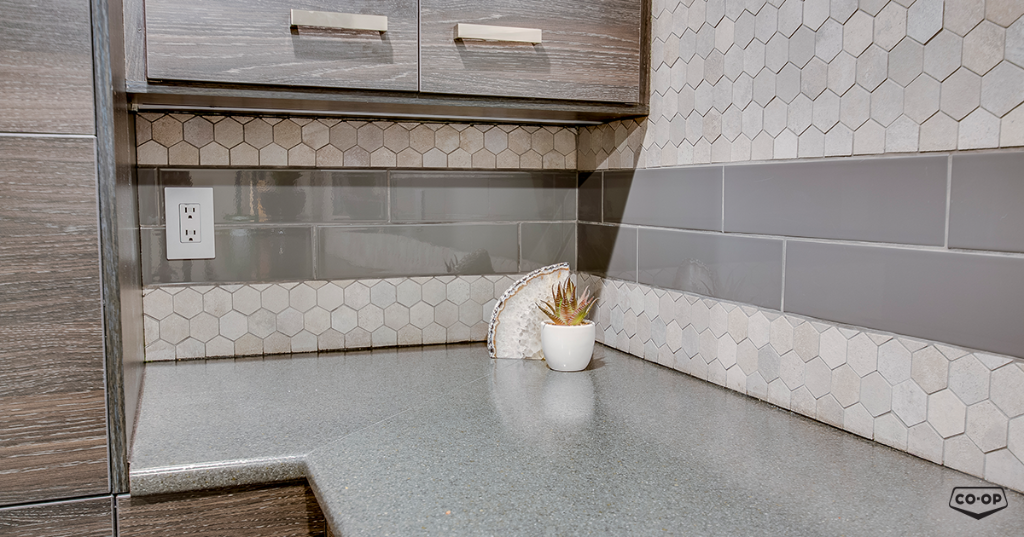
Think about choosing a main tile and an insert tile that can be part of the design to create a unique visual impact. If this is your first time tiling, be aware that cutting tile can be challenging, so try to minimize the need for cuts. Porcelain, ceramic and stones are easier to cut, though ceramic can be brittle. Glass and metal are typically more challenging materials to cut. The size and shape of tile can also influence the difficulty of installation – small or non-rectangular shapes are harder to cut and install – for instance.
2. Prep Work
Walls should be plumb, drywalled, primed and painted. Mark on the wall where you plan to install your tile. Determine grout spacing – if your tile is on a mesh backing, your grout spacing is predetermined. However, you can choose the spacing for individual tiles. Tape off all your edges and use cardboard to cover any countertops or flooring to protect their surfaces. Walls that have electrical switches or receptacles may require electrical box extensions to make the cover flush with the new tile.
3. Laying Tile
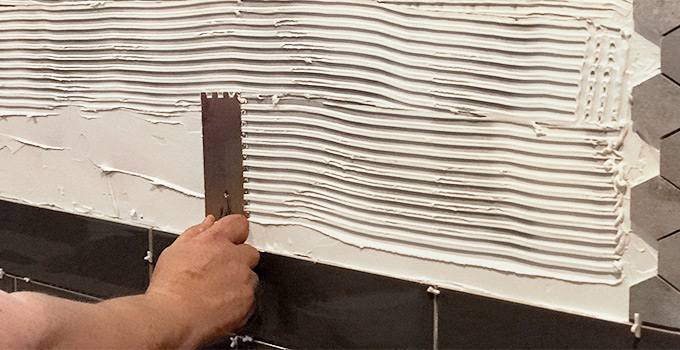
Start laying your tile from the bottom and working up so that the tile does not sag. Using a mortar trowel with notches, spread your mortar on the wall. The mortar has to be tight to every edge. Remember not to spread too far ahead of yourself as the mortar needs to be moist for the tile to adhere to it. If the mortar dries before you install your tile, remove it and reapply. Don’t press the mortar so hard that it squeezes out and fills the grout space. If this happens, remove the tile and mortar and start again. Always keep checking that your tiles are staying level as you move up the wall.
4. Cutting Tile
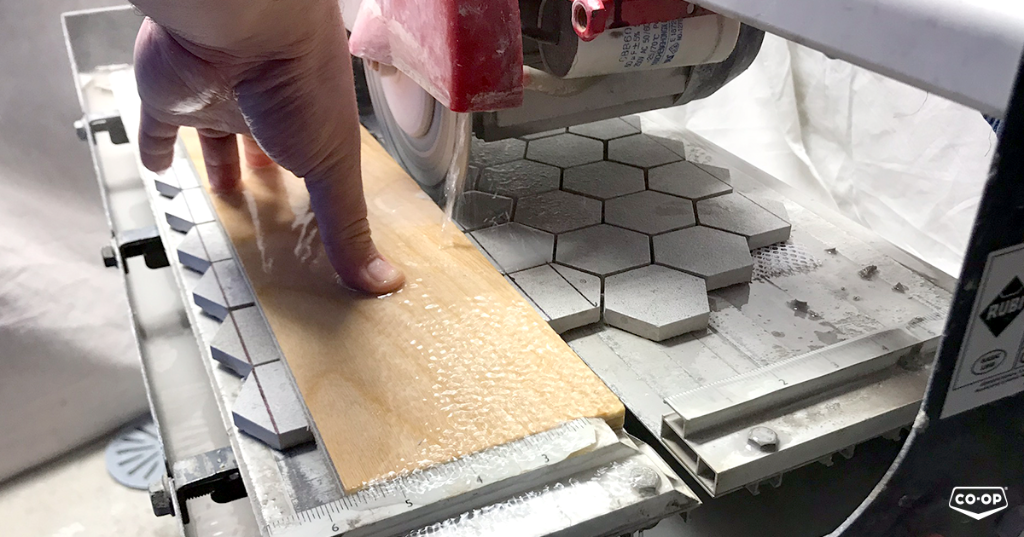
For cutting tile, you have a few options. You can use a manual tile cutter, which scores the tile surface, allowing you snap off the tile. Another option is to use an angle grinder with a diamond-cutting blade. This works really well for cutting around outlets or awkward pieces, but is extremely dusty. The best option for a lot of cutting is to use a wet saw. A wet saw has a diamond blade on it that slides through the tile on an arm, or a table portion slides while the blade is stationary. The saw has water running through it to keep the dust levels down.
Have your tiles marked so you know where to cut. Cut in an area of the home that you do not mind getting dirty and wet. Have a towel handy to remove extra water before installing the piece. Keep all your scrap pieces as you may need them to fill in edges.
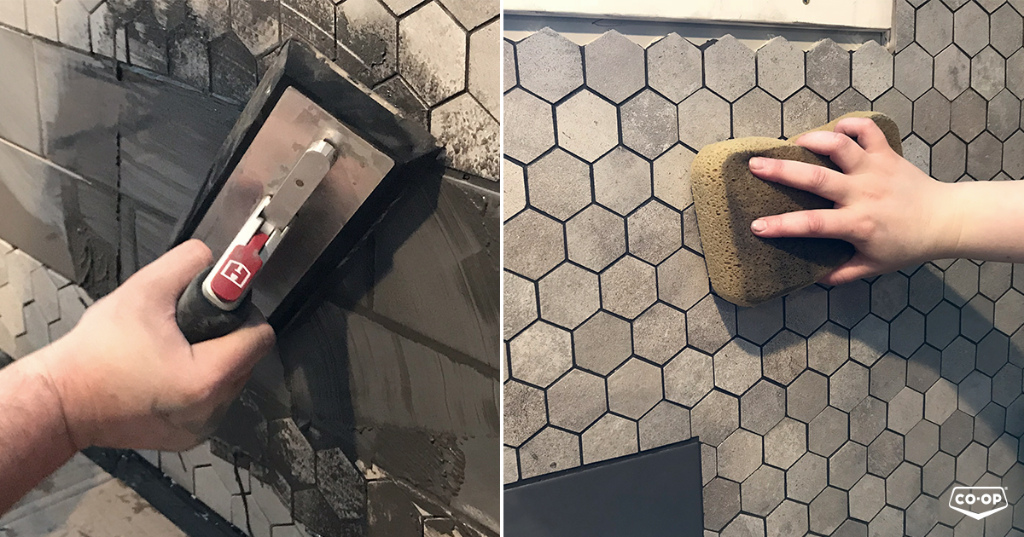
5. Grouting
Once you have completed the tiling and waited about 24 hours for the mortar to completely dry, you can start grouting. Grouting can be messy so ensure you still have your cardboard in place to protect the other surfaces. Read the package if using powdered grout to ensure the correct water-to-powder ratio. You want your grout to have the consistency of toothpaste: stiff enough not to run and soft enough to spread and press into the grout grooves. Grout also dries quickly, so make smaller batches.
Scoop some grout and place on your tile float (a tool that looks like a trowel but has a smooth, spongy bed). Spread the grout on the tile surface, pressing it into the grooves between the tiles. Remove any extra grout. Once the grout has had a few minutes to set, start washing it off the tile surface. Do not use too much water as it will remove the grout between the tiles. Have lots of clean water, rags and sponges to aid in this process. Again, wait about 24 hours for the grout to dry before adding any silicone. Silicone is normally only required where the counter meets the backsplash to ensure water doesn't get in behind the counter and wall. Any silicone will serve this purpose, and homeowners can choose between clear or white silicone.